Switch to Raspbian Desktop in Retropie and Back Again

If y'all wanna enjoy retro gaming on your Raspberry Pi but don't want to lose your existing environment and Raspbian projects, then this guide is for you lot. The solution is to install RetroPie on Raspberry Pi equally an awarding inside the Raspbian OS. And then today I'll walk you through the steps to install the RetroPie on Raspberry Pi.
This guide a flake different from just installing a RetoPie epitome on an SD carte. We will first install the Raspberry OS (Raspbian) first and so install RetroPie as an awarding inside the OS.
Below is the equipment that yous need to go on with this guide.
Contents
- Equipment List
- Steps to Install RetroPie on Raspberry Pi (in Raspbian)
- Step ane: Install Raspbian OS (Skip if already installed)
- Step ii: Install RetroPie in Raspbian
- Step 3: Calculation Games to RetroPie
- Booting Directly into RetroPie
Equipment List
- Raspberry Pi 4 (or other models)
- MicroSD Card (minimum 8GB recommended)
- Power Supply
- HDMI Cable (unless you have a touchscreen)
- Ethernet Cable (or Wi-Fi connectivity)
- Keyboard & Mouse
- Game Controller
Steps to Install RetroPie on Raspberry Pi (in Raspbian)
Step 1: Install Raspbian OS (Skip if already installed)
First of all, you demand to install Raspbian OS on your Pi. For this, you tin can refer to my guide here. Install it and then come back to this folio and proceed with the following steps. If you already have the OS installed, then skip this step.
Step 2: Install RetroPie in Raspbian
Once you lot are prepare with a Raspbian on your Pi, now information technology's time to beginning with the installation of RetroPie.
- At outset, open a terminal window using CTRL+ALT+T. You will see a screen like this.
- The next step is to load the RetroPie setup script using the command below:
sudo git clone --depth=1 https://github.com/RetroPie/RetroPie-Setup - The above code will just download the RetroPie setup only. So nosotros have to go inside the directory by this code.
cd RetroPie-Setup - Once within the directory, you tin can install the RetroPie setup using the beneath code.
sudo ./retropie_setup.sh - After installation, you will encounter the RetroPie setup script carte. Select OK.
- Then you will be seeing a screen like below. Hither, select the Bones install option and select OK.
- Once done with that, you will take the RetroPie installed on your Pi inside the Raspbian Bone.
- Again open the Terminal window and type the following code:
emulationstation - This will load the UI to RetroPie and you volition be prompted to configure your controller.
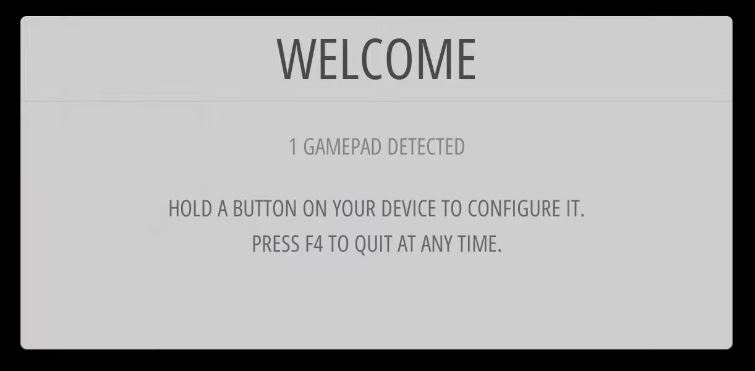
- Hither, I'thou using an Xbox One controller which is connected via USB. You can also use a PS4 controller and connect via Bluetooth. At present I'k going to gear up up my controller.
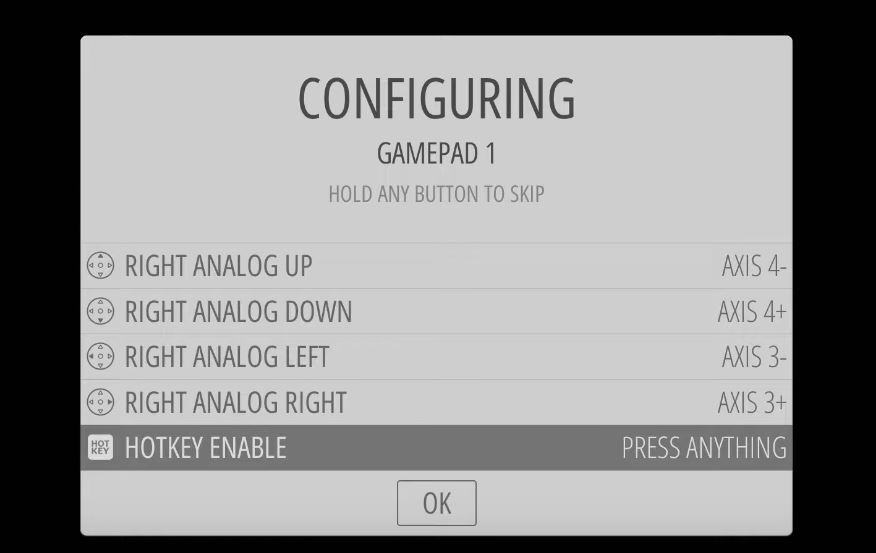
- I will select the hotkey to enable from the menu and select OK. Press START and quit the emulation station to get back to the Raspbian desktop.
Footstep 3: Adding Games to RetroPie
- For adding some games to RetroPie, hither I'm connecting my USB difficult drive where I have a nice collection of ROMs. In the window opened at the left side, it is the Raspbian file manager where the RetroPie folder and ROMs are there. At the correct, at that place is my hard bulldoze opened. At present I've to become to the difficult drive and re-create some SNES games to the BIOS folder in the Raspbian file manager.
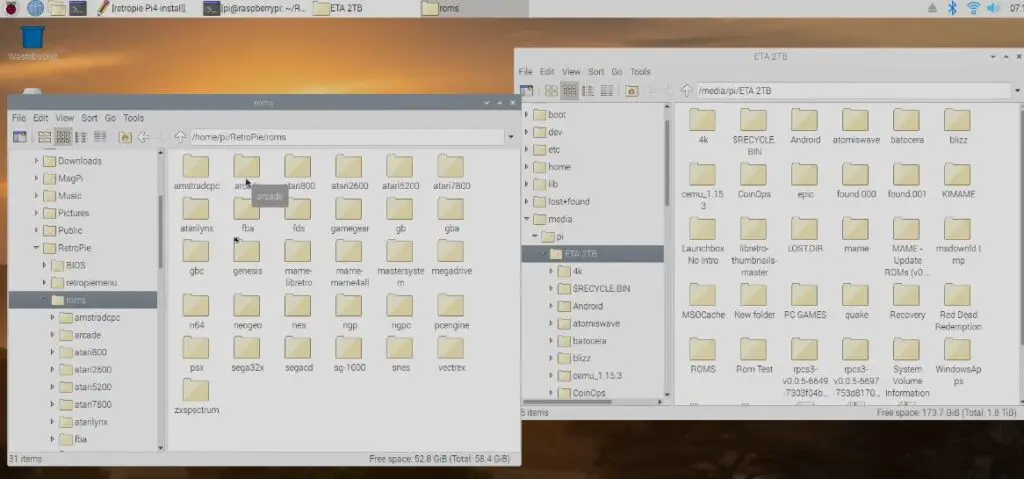
- As well, transfer some SNES games to snes folder inside the roms binder
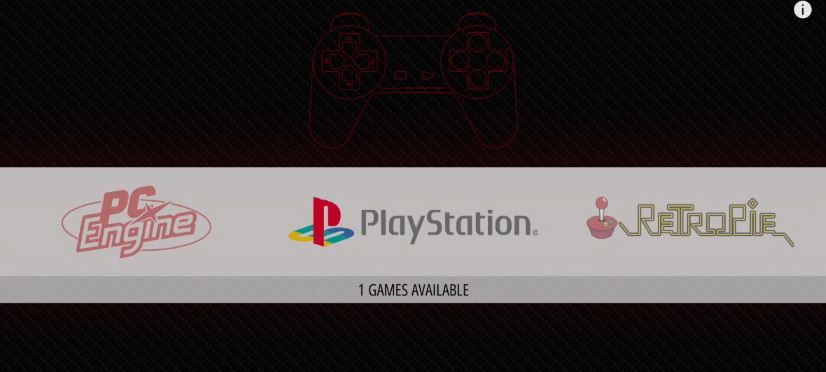
- Once all ROMs are copied, over again open up the terminal window and issue the emulationstation command.
- Now your Pi will load with RetroPie games equally you can see in the below screenshot.
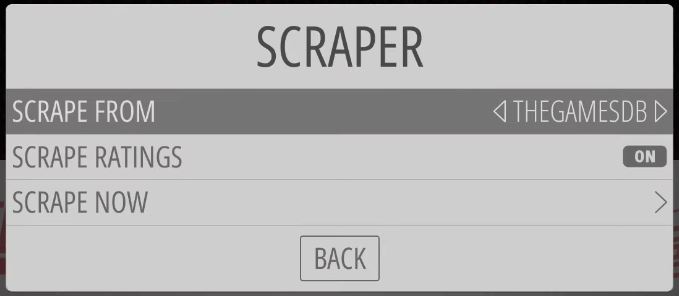
- Press Showtime on your controller and get to the scrapper.
- At present select SCRAPE NOW.
- And then select SYSTEMS and for now, select only 1 instead of 4. (Here I selected Super Nintendo only)
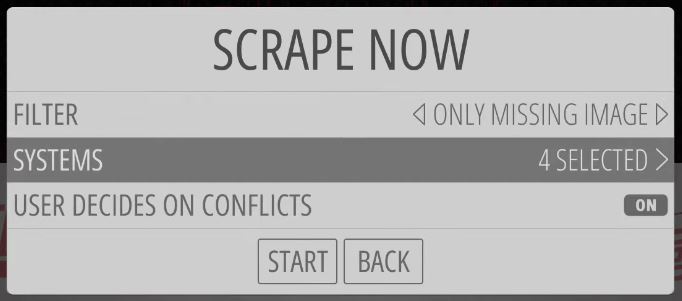
- So bank check only ane and uncheck the other 3 options and click BACK.
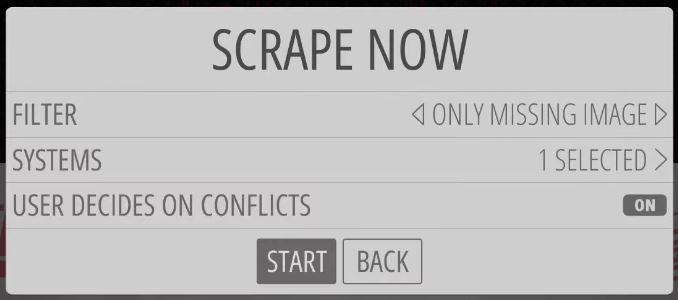
- In the adjacent window click on the START push button. The scraping process will commencement now.
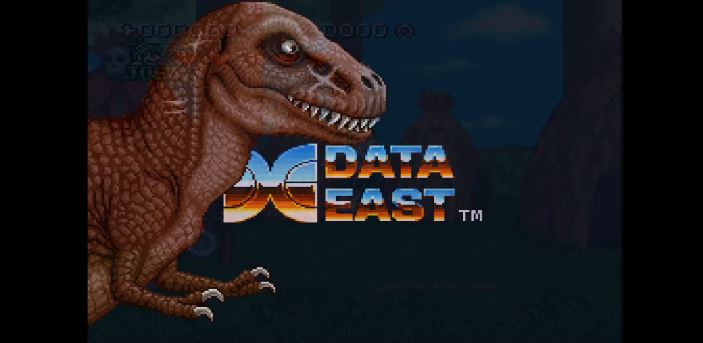
- Once scraping is completed it will straight become to the list of games as shown below.
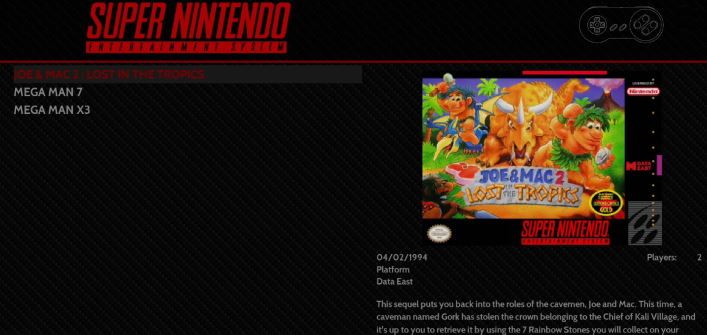
- From the listing, I'm going to select JOE & MAC 2 (in my case). The game should open now and you tin get-go playing.
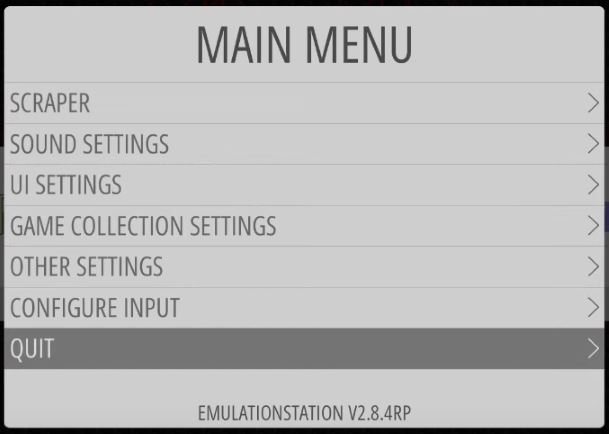
If you want to exit the game press the hotkey and commencement. This volition bring back you to the emulation station and from in that location you can select the QUIT option.
Booting Directly into RetroPie
Now you lot've all set and tin first playing games on your Raspberry Pi. If you want your Pi kicking directly into the RetroPie at every beginning, then follow the beneath steps.
- Open a new terminal window and blazon the following command.
sudo nano /etc/xdg/lxsession/LXDE-pi/autostart
- From hither use the arrow primal to come up to the bottom of the last line and blazon this control.
lxterminal -east /usr/bin/emulationstation
- Save it by pressing CTRL+X+Y and and then enter.
That's it. Now onwards every fourth dimension y'all start your Pi, it will directly land on RetroPie.
Now issue i more than command to reboot the system
sudo reboot Congrats. You lot accept successfully completed all the steps and yous tin can start enjoying the retro gaming experience past adding your favorite game. If yous wanna improve your gaming experience consider increasing the CPU speed by overclocking your Raspberry Pi.
If you have whatever queries, ask via the comment department below.
Institute an result with this commodity? Report it here, so that I can resolve information technology.
friedmanofest1987.blogspot.com
Source: https://raspberryexpert.com/how-to-install-retropie-raspbian/
0 Response to "Switch to Raspbian Desktop in Retropie and Back Again"
Post a Comment